Bulkhead Pike fly pattern is a pattern that everyone should have in their box. Its ideal for coloured water where you need to push water and the larger profile makes it easier to see while a pike is under it (silhouette). You can tie these in any colour combo you want. All materials are in the shop
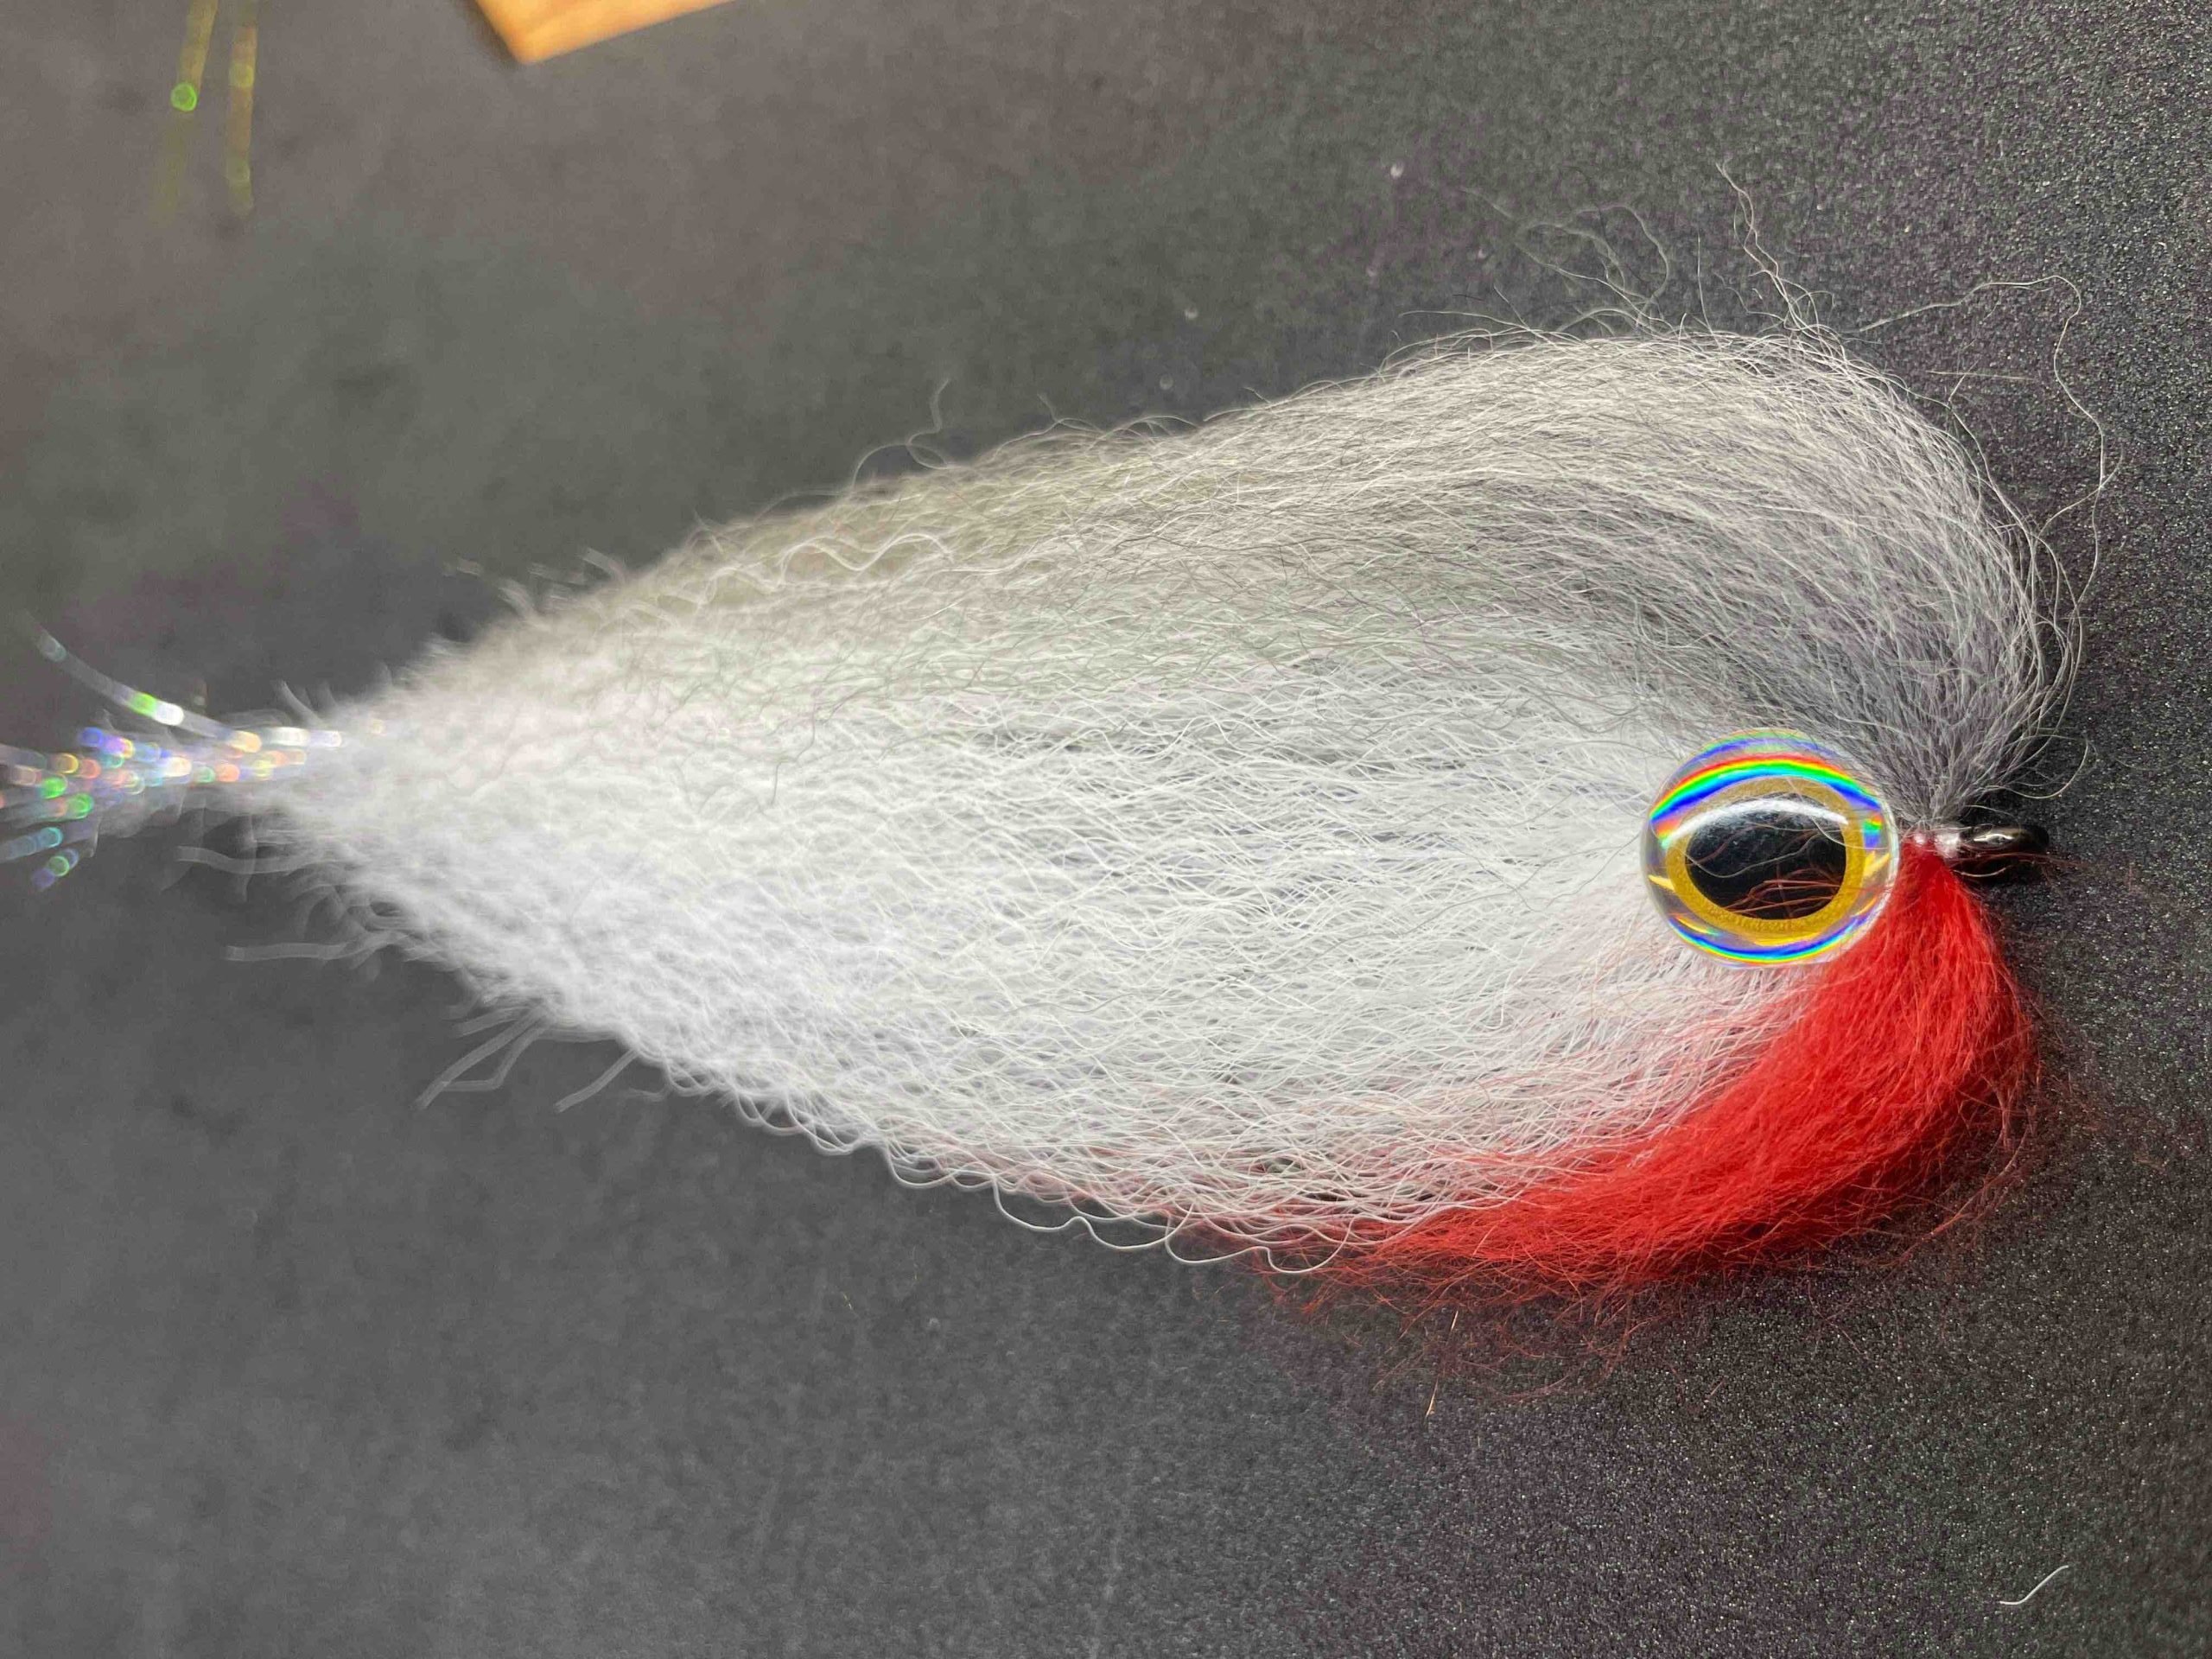
Roach Pike fly pattern is a simple tie and one that most everyone has in their fly box. It is often a very effective fly. All materials are available in the shop.
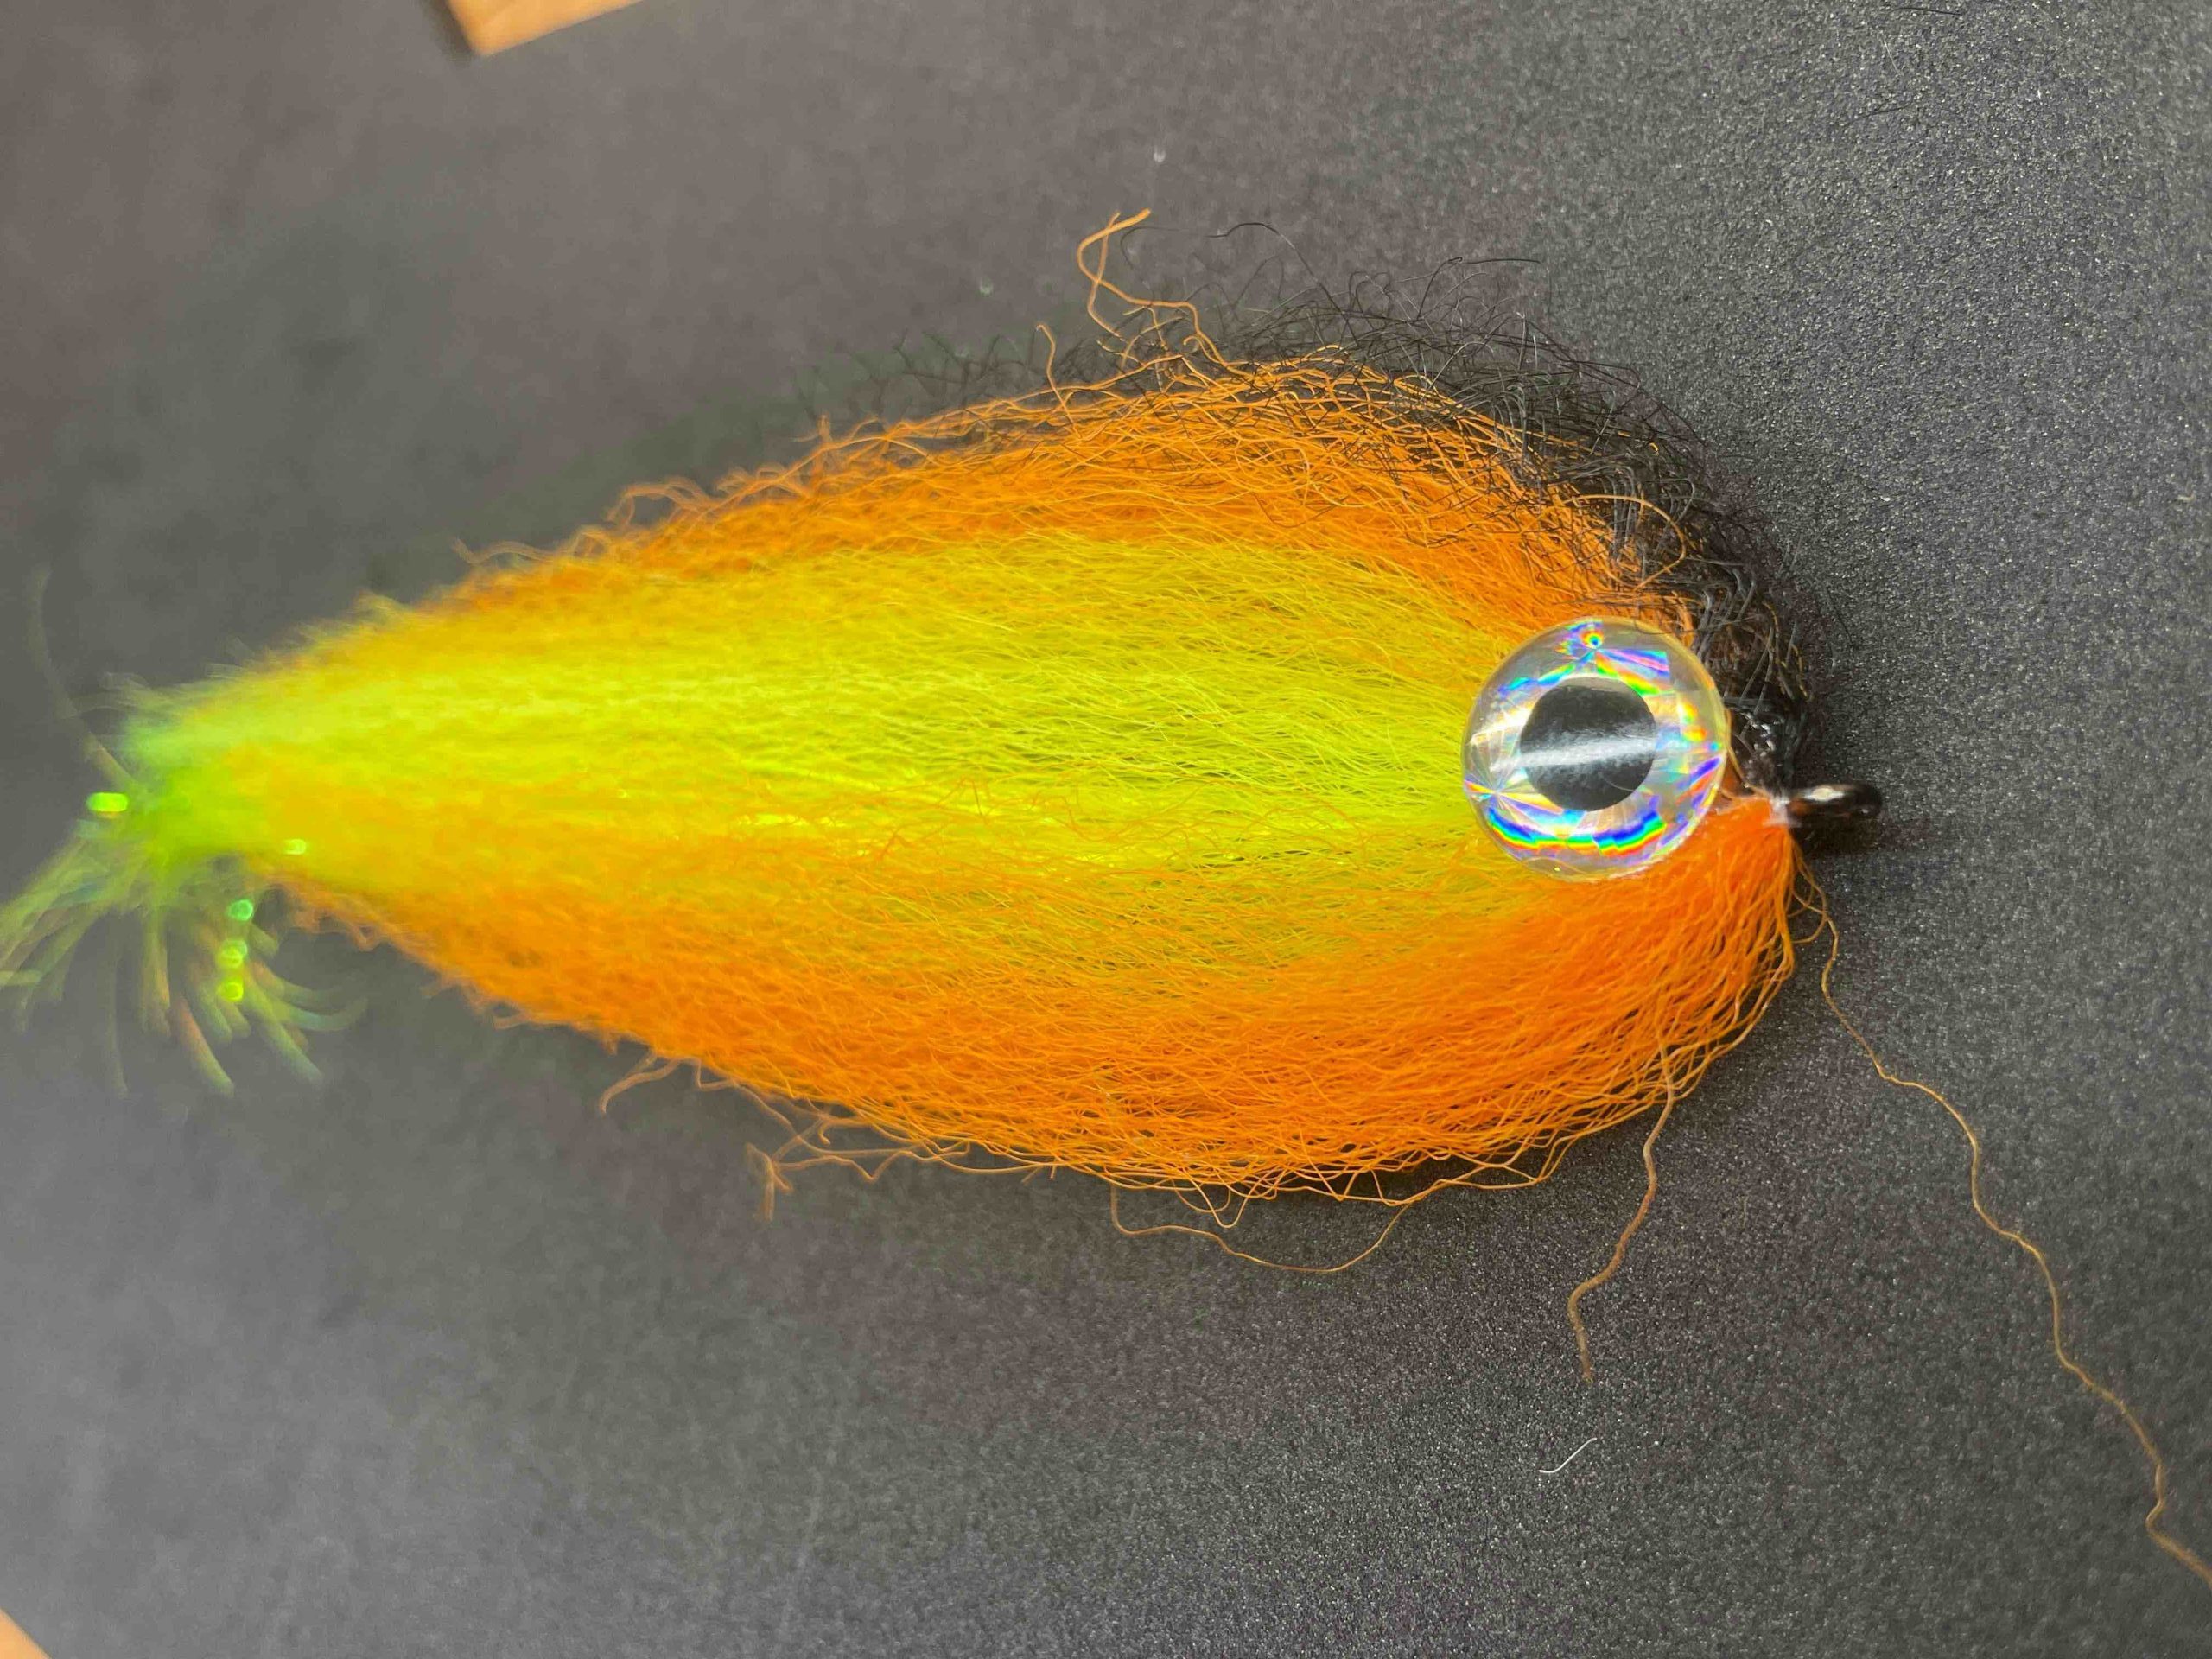
Orange – Yellow Pike pattern is one of the best patterns in my fly box with the most fish landed and plenty more to come no doubt! All the materials are in the shop
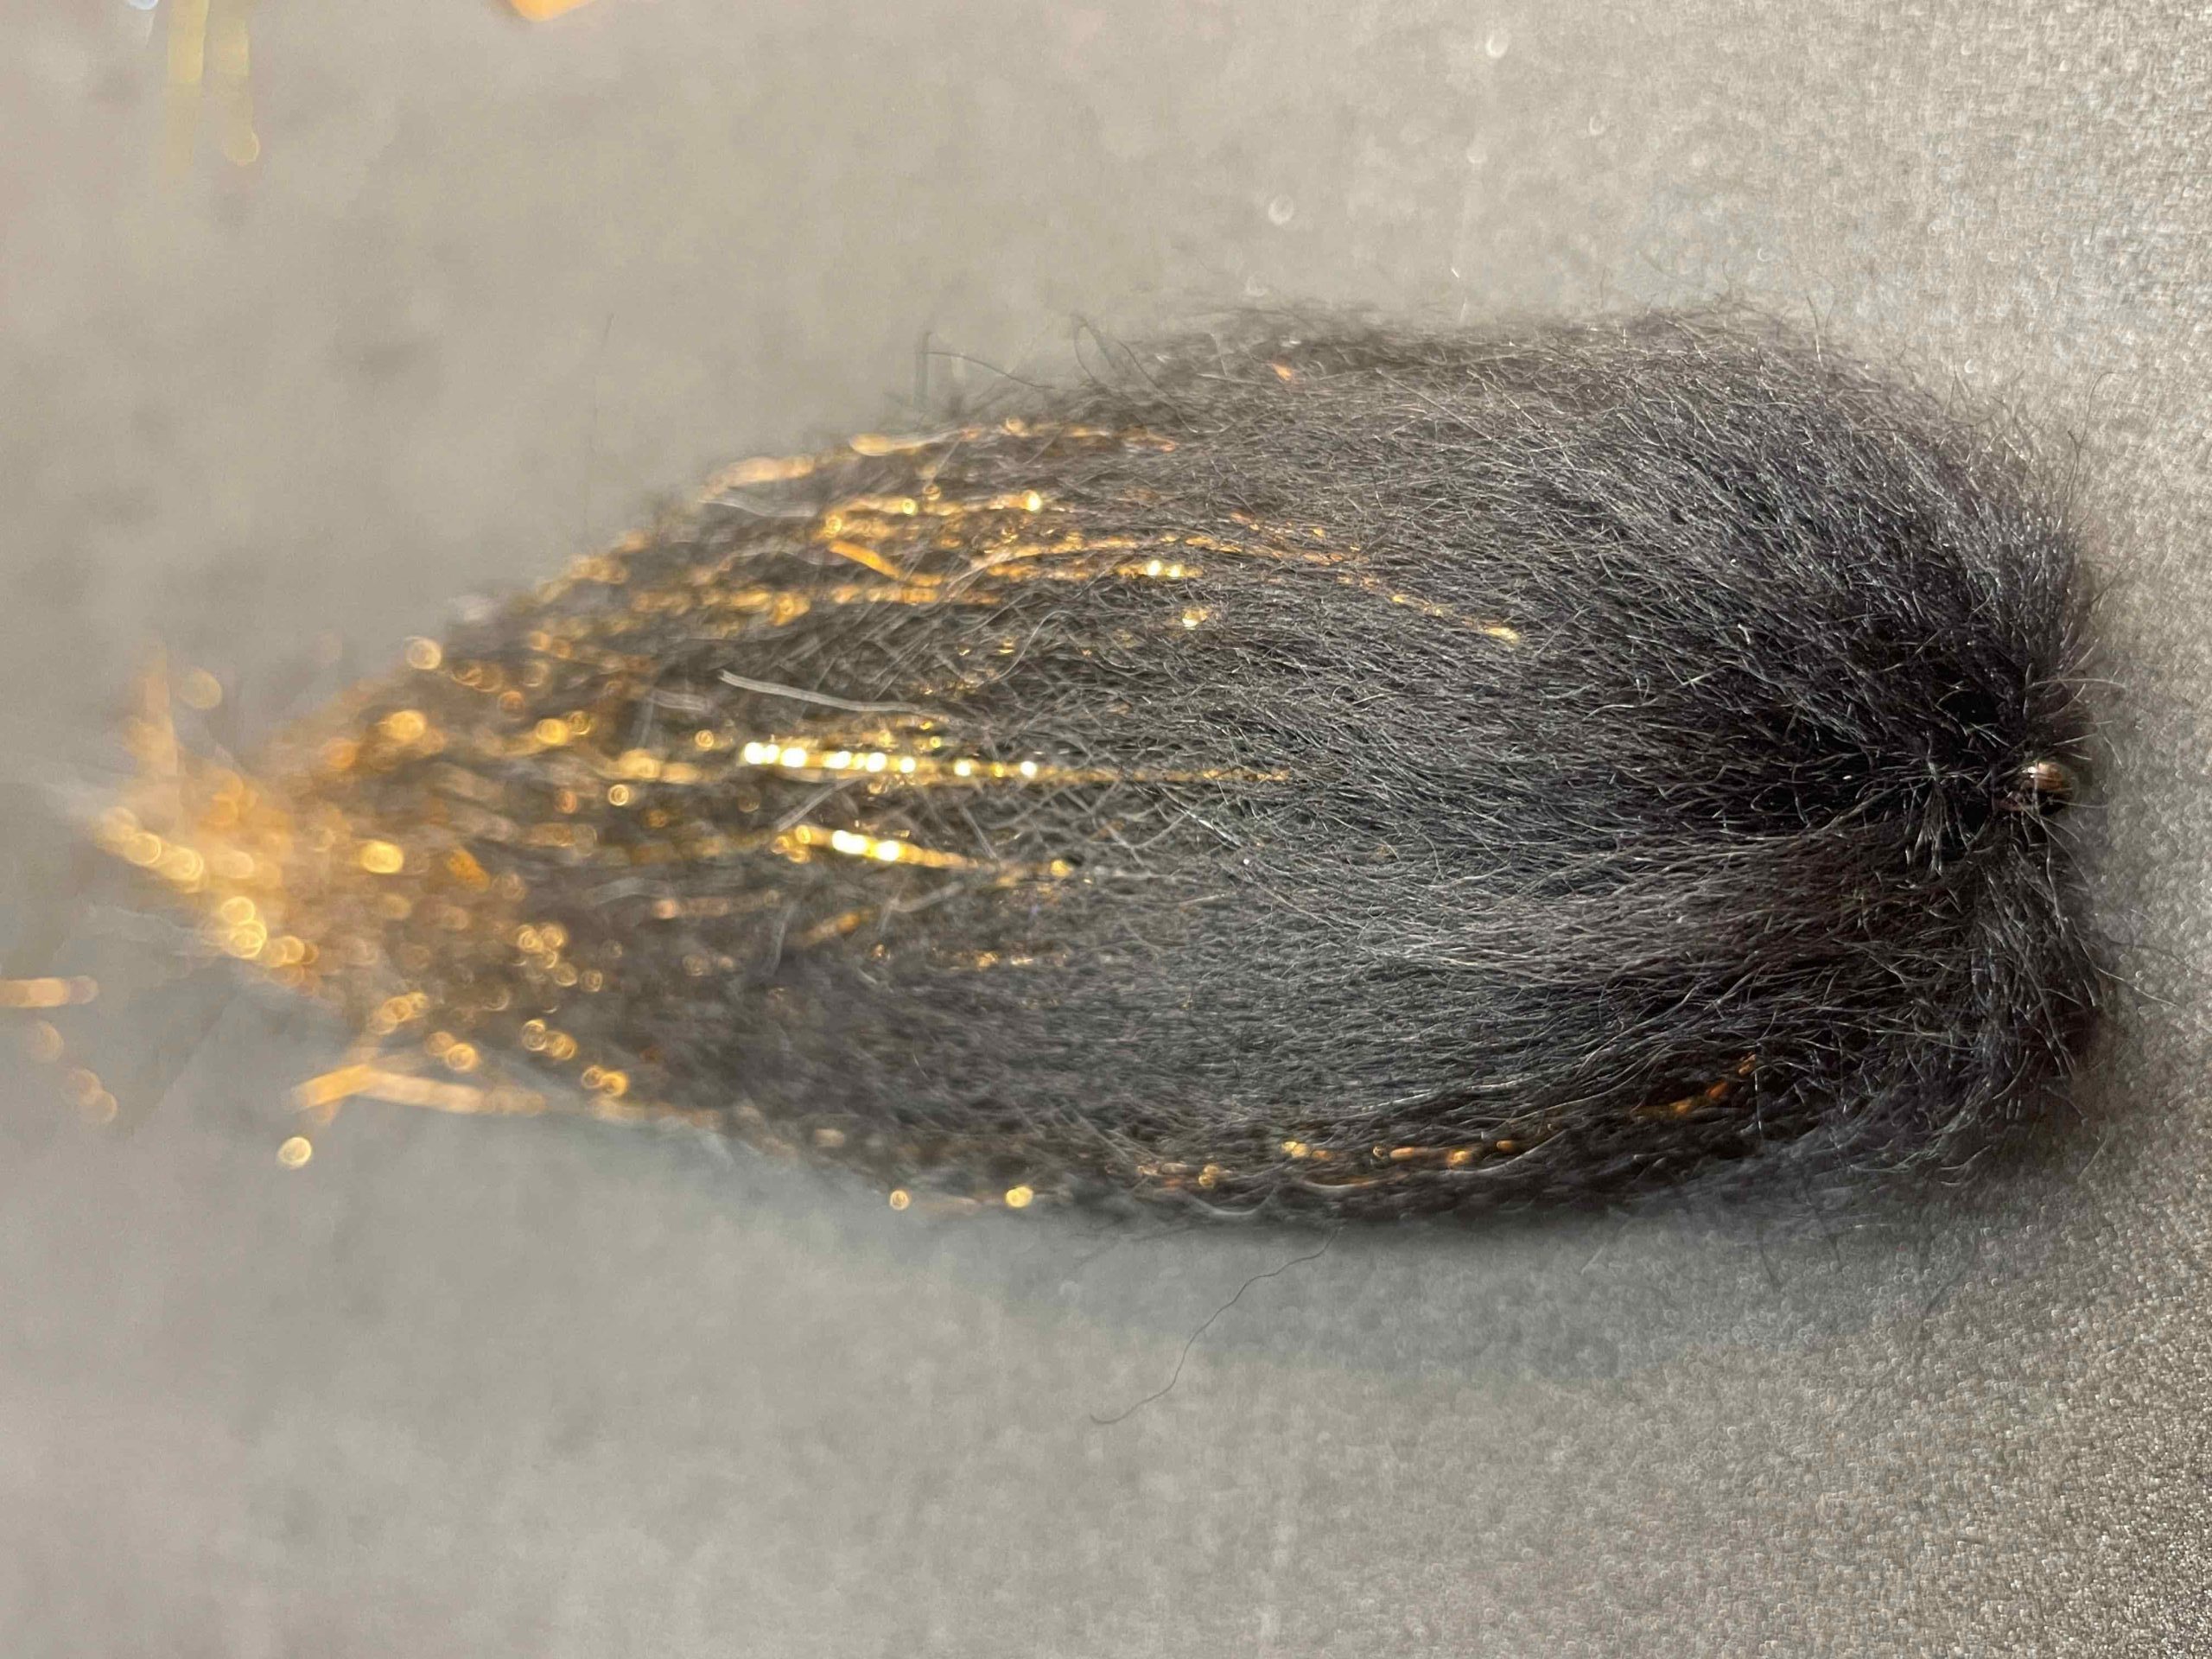
Scruffy Tiger Pike fly pattern was originally created by Rodney Wevill a few years ago and has been a great pattern to have in the fly box as well as one of my go to patterns. The materials for this tie can be found in the shop.
Perch pattern tying guide is my first ever tying vid, so bear with me. Tying methods is a personal thing I have found, what works for me; may not work for you. It took me a year of tying to find the way I prefer to tie my patterns, I took bits from various well known tyers and adapted to how I wanted things to work.
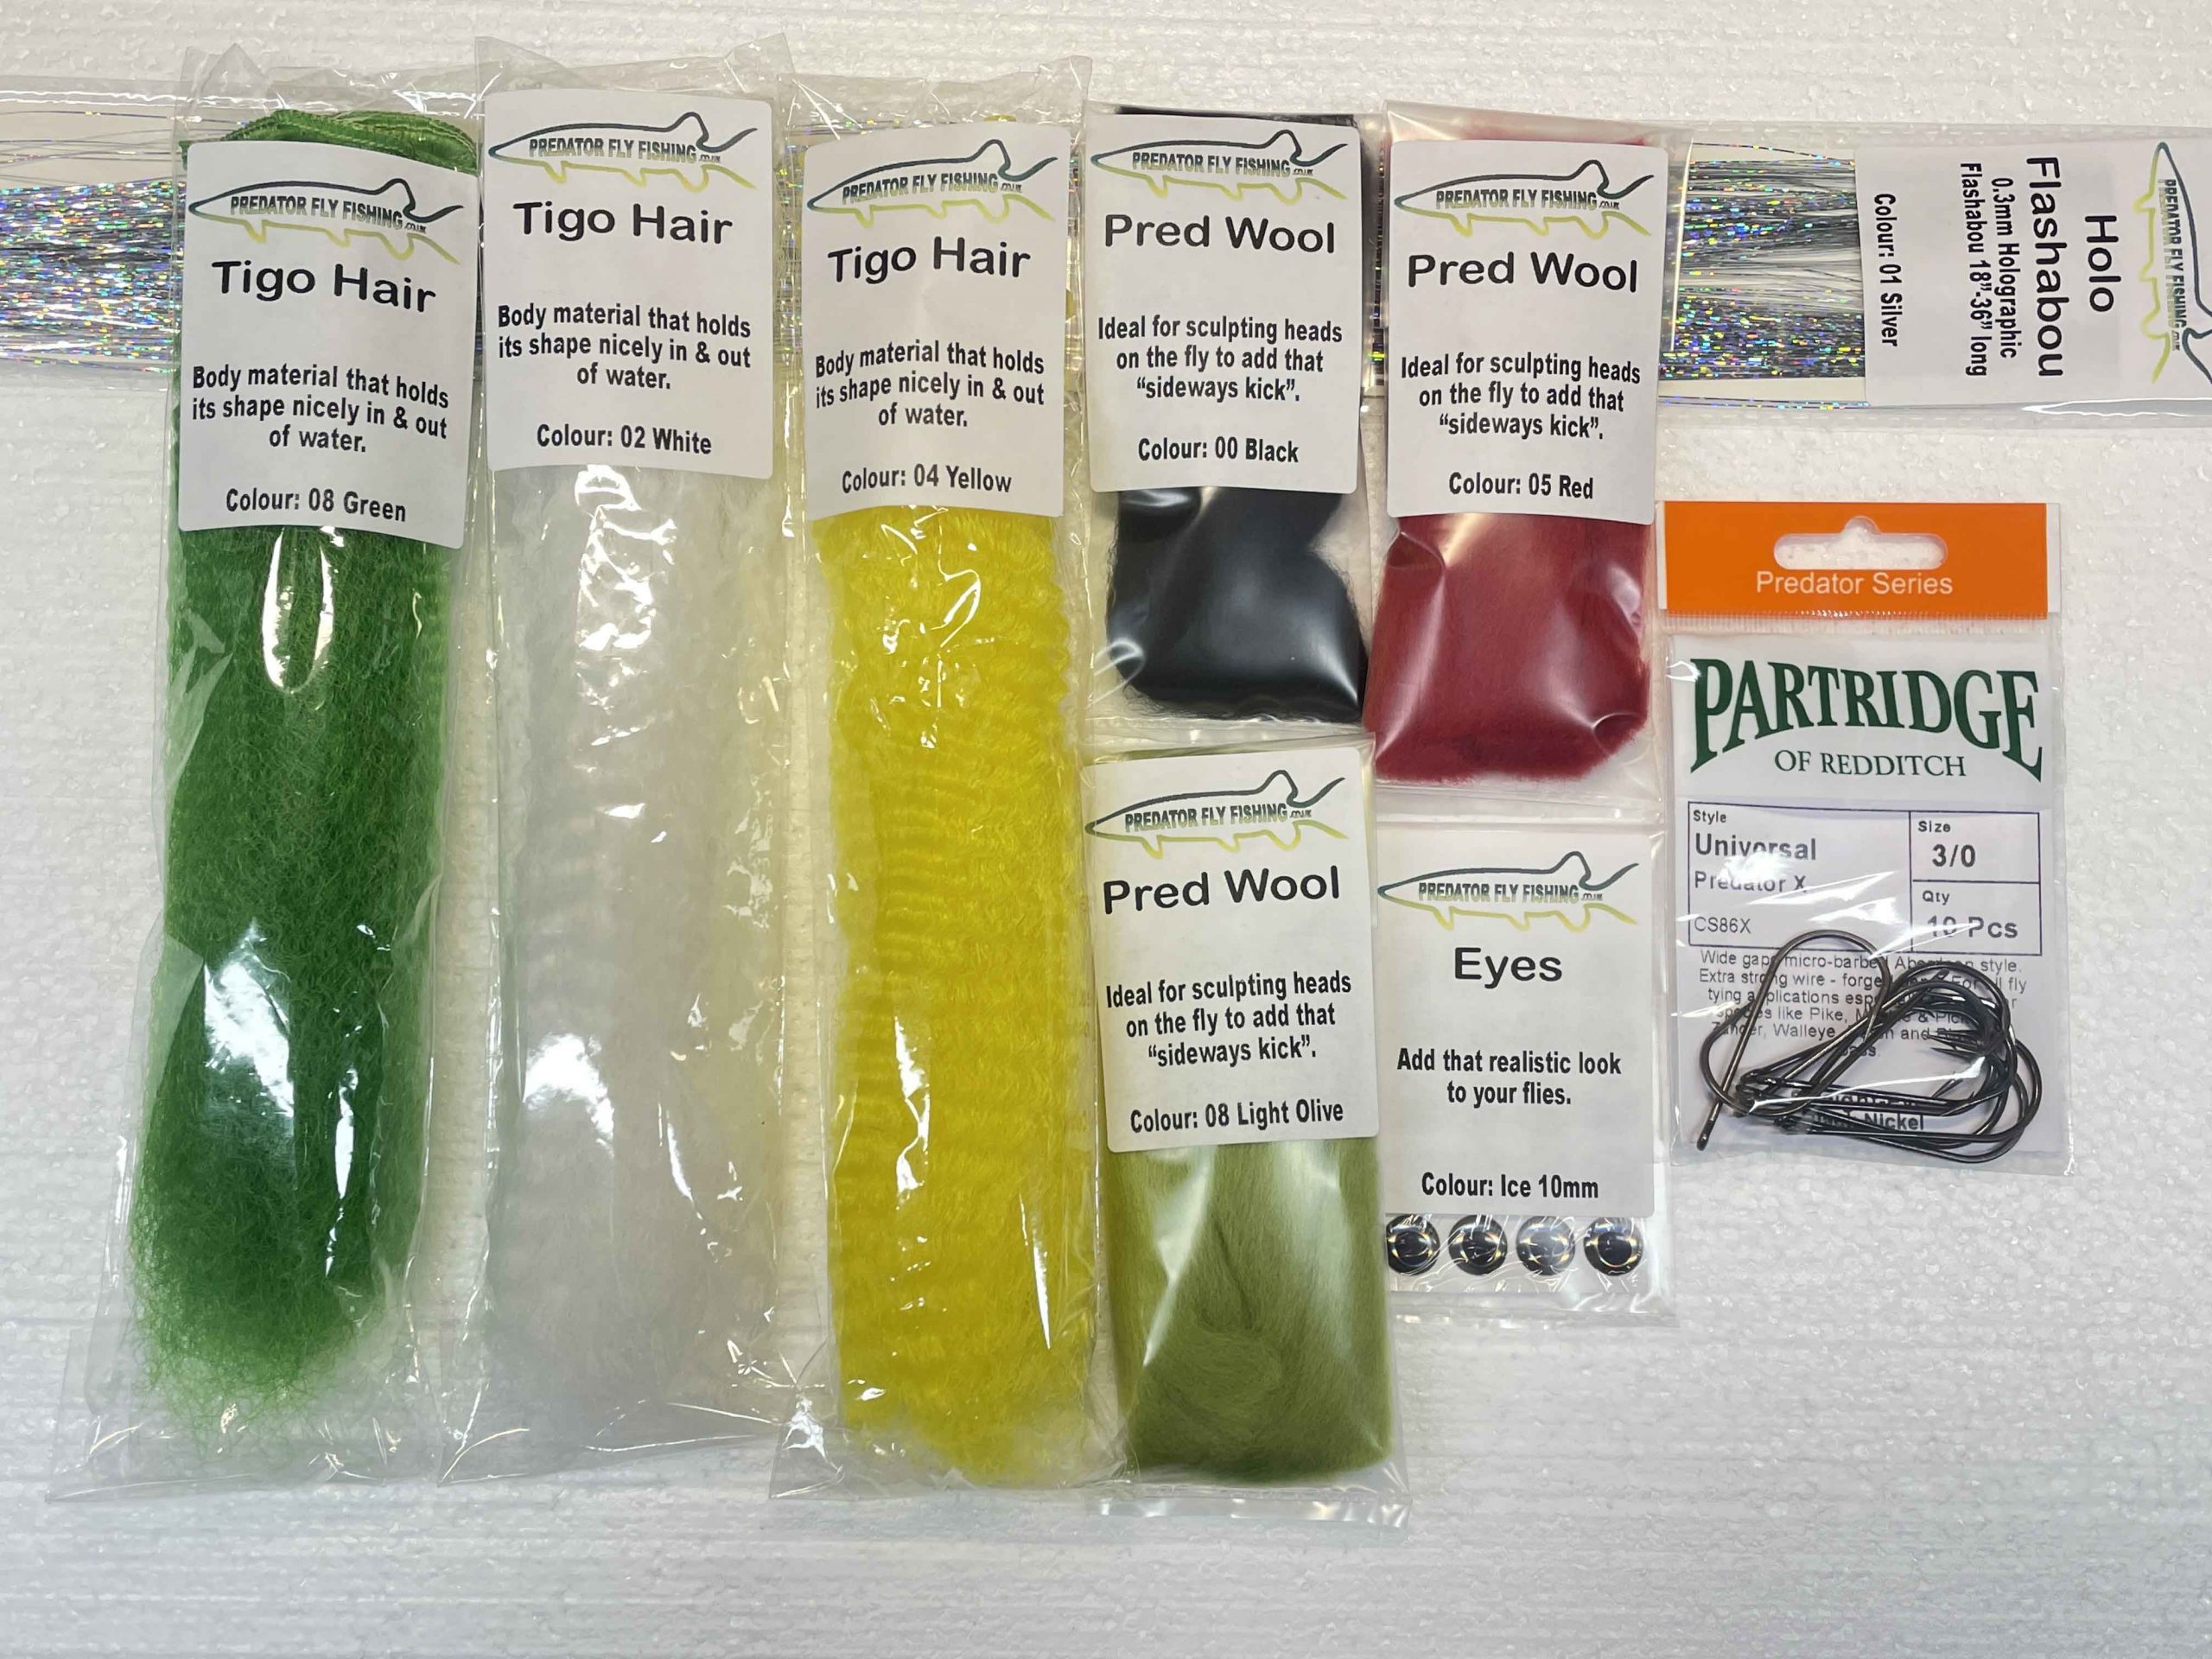
Below are direct links to the materials I have used in the vid.
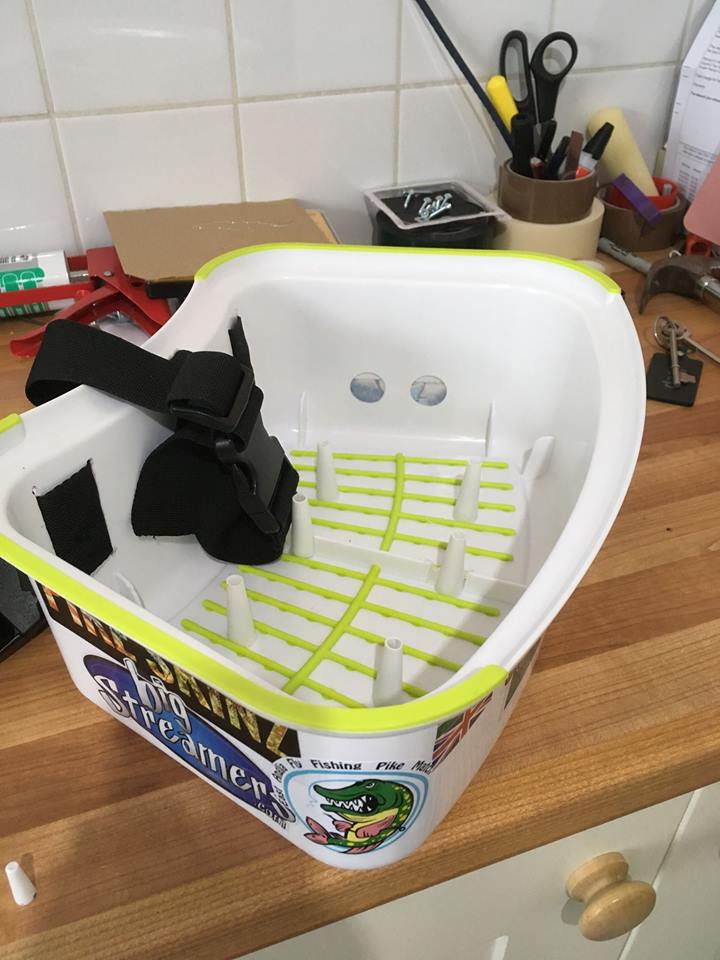
You’re in the groove, your cast feels right & you know that this one is going to shoot exactly how you want it to. You let go of your line, watching it roll out beautifully ….. then see it stop way short & get ruined! You look down to realise that your line snagged a tiny bit of grass, weed, twig or that you have stood on the coils! It’s at this point you might want to look at getting a stripping basket or line basket (same thing). I use mine 100% when I go anywhere fishing for any species. It’s an absolute god send, no more standing on my fly line or line snagging a weed ruining a cast and If you’re a dab hand at a bit of DIY, you can make your own for less than the cheapest is available Online (At date of this article).
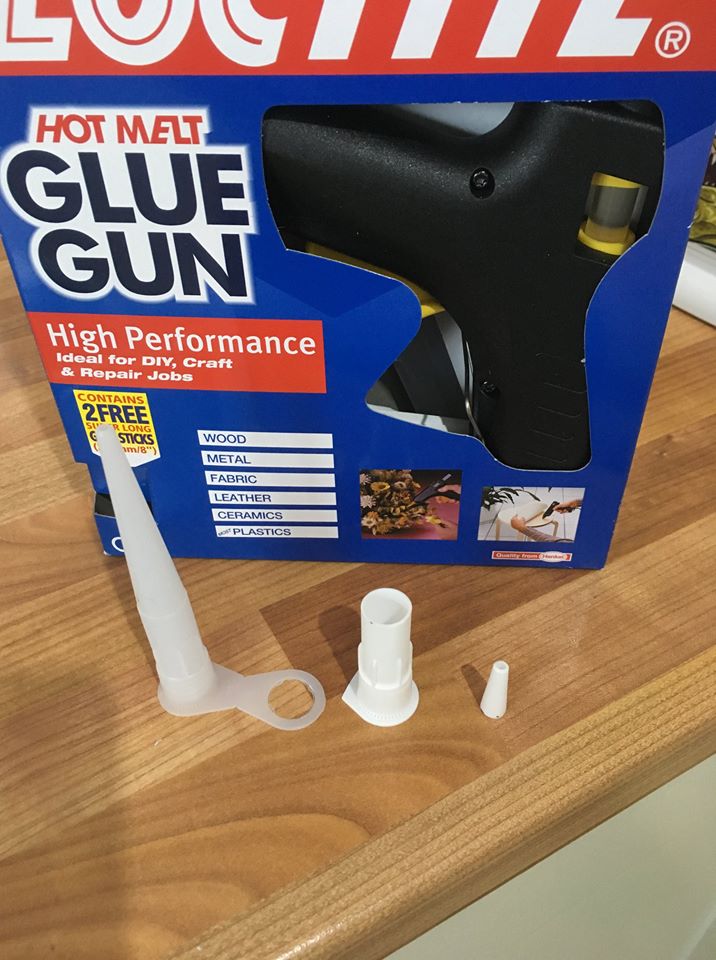
6-8 Silicone gun cap-less nozzles cut to 40mm long
Marker pen
Drill & drill bits to suit the screws you buy.
Dome head screws x 35mm long with washers under the head end
Hot Glue gun with sticks
Knife *Please be careful*
Soldering iron or Dremel cutting bit *Please be careful*
Luggage straps; one to go around your waist or thigh & 2nd if you opt for thigh to help hold the basket up to your belt
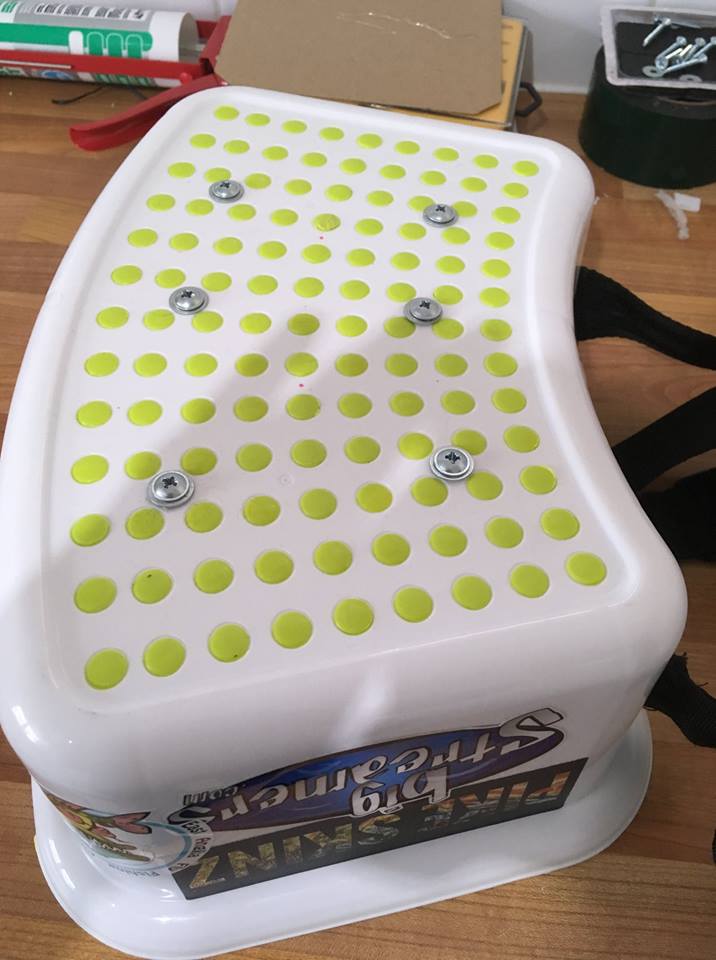
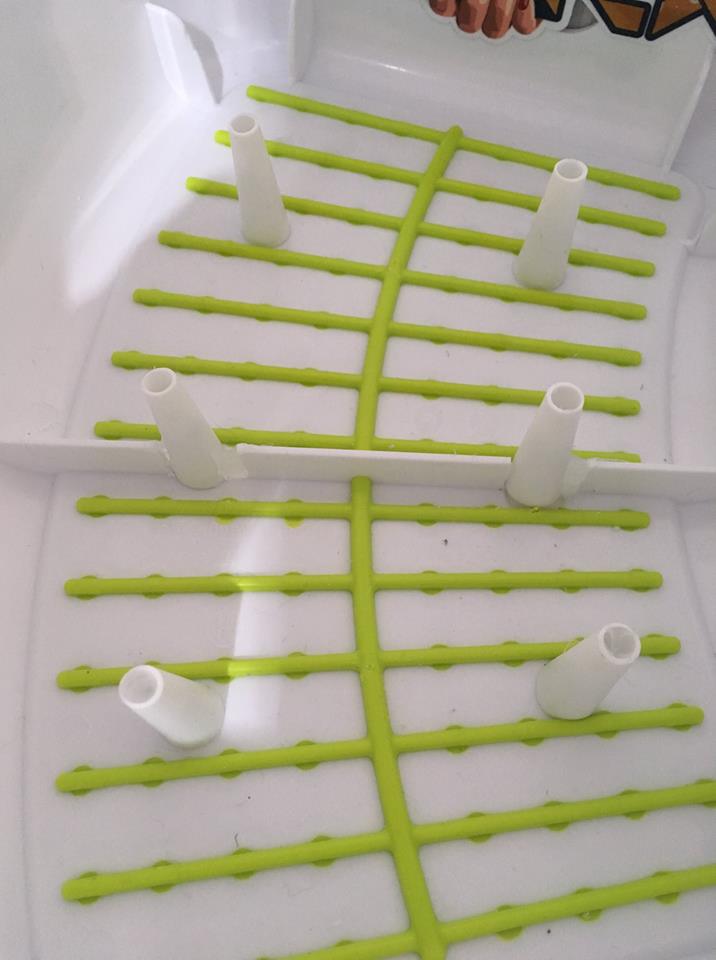
Shape of nozzles I used & bits i trimed offBottom with screws in placeInside with nozzles in place
Once you have the parts, time to build.
Mark out on the bottom of the stool where you want to drill the holes.
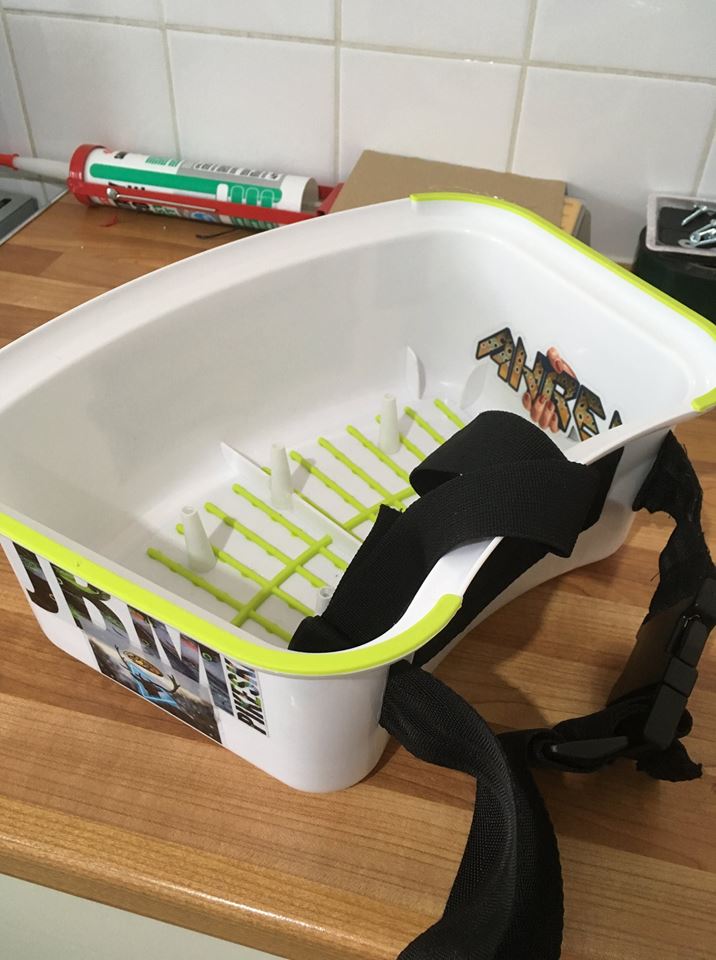
Mark on the side where you want to cut the strap slots
Use the soldering iron to melt the strap slots or Dremel to cut the slots
Fit washers on to your screws & push screws up from the bottom ready to place the caps on.
Fill one cap at a time, place that cap over the upturned screw & leave to set. Once set, fill another cap with hot glue & place over next screw. Leave to set.. repeat until all caps are fitted.
Feed the straps through the slots & adjust to fit
Finally, carefully place your stickers on your new stripping basket. Each sticker is one fish *Editor takes no responsibility nor guarantees this*.
We use cookies on our website to give you the most relevant experience by remembering your preferences and repeat visits. By clicking “Accept”, you consent to the use of ALL the cookies.
This website uses cookies to improve your experience while you navigate through the website. Out of these, the cookies that are categorized as necessary are stored on your browser as they are essential for the working of basic functionalities of the website. We also use third-party cookies that help us analyze and understand how you use this website. These cookies will be stored in your browser only with your consent. You also have the option to opt-out of these cookies. But opting out of some of these cookies may affect your browsing experience.
Necessary cookies are absolutely essential for the website to function properly. These cookies ensure basic functionalities and security features of the website, anonymously.
Cookie
Duration
Description
cookielawinfo-checbox-analytics
11 months
This cookie is set by GDPR Cookie Consent plugin. The cookie is used to store the user consent for the cookies in the category "Analytics".
cookielawinfo-checbox-functional
11 months
The cookie is set by GDPR cookie consent to record the user consent for the cookies in the category "Functional".
cookielawinfo-checbox-others
11 months
This cookie is set by GDPR Cookie Consent plugin. The cookie is used to store the user consent for the cookies in the category "Other.
cookielawinfo-checkbox-necessary
11 months
This cookie is set by GDPR Cookie Consent plugin. The cookies is used to store the user consent for the cookies in the category "Necessary".
cookielawinfo-checkbox-performance
11 months
This cookie is set by GDPR Cookie Consent plugin. The cookie is used to store the user consent for the cookies in the category "Performance".
viewed_cookie_policy
11 months
The cookie is set by the GDPR Cookie Consent plugin and is used to store whether or not user has consented to the use of cookies. It does not store any personal data.
Functional cookies help to perform certain functionalities like sharing the content of the website on social media platforms, collect feedbacks, and other third-party features.
Performance cookies are used to understand and analyze the key performance indexes of the website which helps in delivering a better user experience for the visitors.
Analytical cookies are used to understand how visitors interact with the website. These cookies help provide information on metrics the number of visitors, bounce rate, traffic source, etc.
Advertisement cookies are used to provide visitors with relevant ads and marketing campaigns. These cookies track visitors across websites and collect information to provide customized ads.
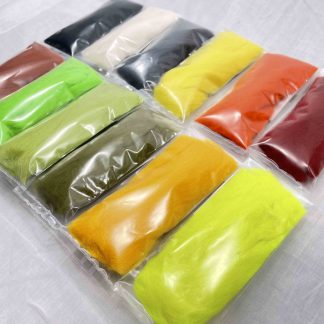
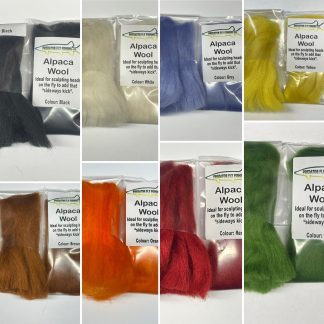 Alpaca Wool£4.00
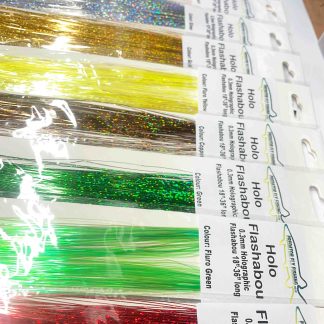 Holo Flash 18-36″£3.50
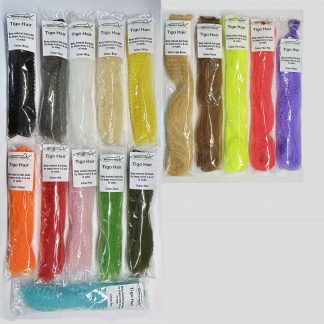 Tigo Hair£3.00
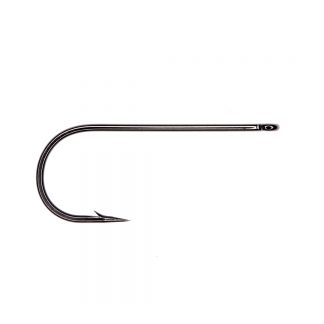 Universal Predator X CS86X£4.80 – £5.80